China has already developed 6G technology
China has developed the world’s first 6G field test network, which integrates communication and artificial intelligence, demonstrating that 6G transmission capabilities can be achieved using

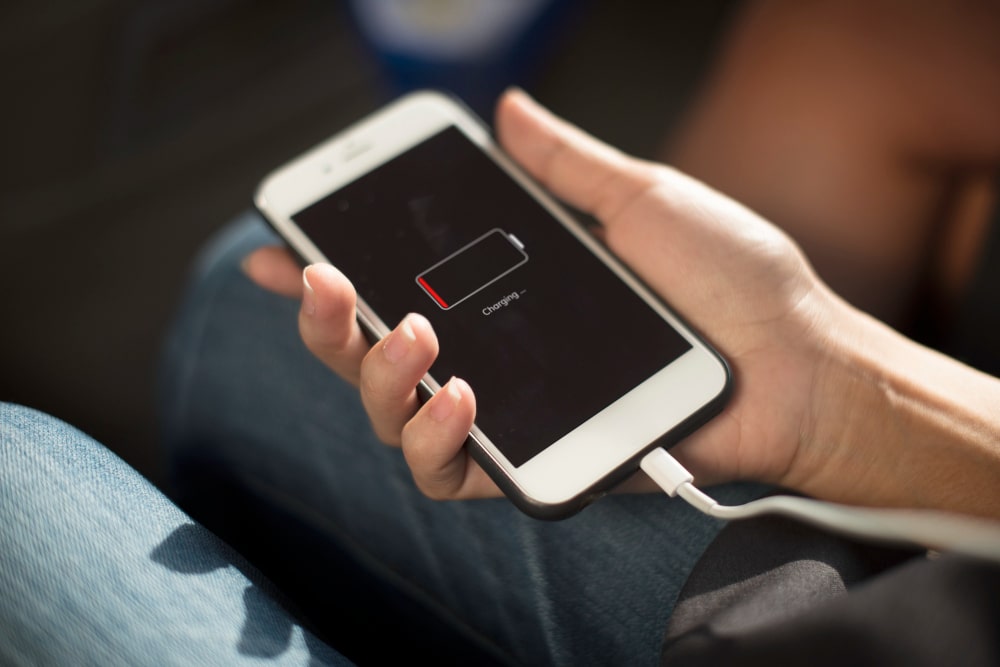
Do you feel like your iPhone isn’t lasting as long as it used to? If so, it might be time to replace your iPhone battery. iPhone battery replacement is easier than you might think and can be done in as little as six steps. In this blog post, we’ll take you through the process of how to change your iPhone battery in no time.
Carefully open up your iPhone and remove the original battery. Set aside all of your iPhone’s internal components in a safe location and make sure not to lose any screws during this process. Now that your iPhone is opened, you can begin the repair process by replacing the original battery with a new one. Be sure to purchase an iPhone battery replacement kit online or from an authorized Apple store so you have all of the necessary tools and parts required for a successful repair. This will help ensure you are not missing any parts or pieces, and that you are properly equipping yourself with all of the knowledge needed for an effective iPhone battery repair.
To remove the old battery use a plastic spudger. Gently insert the edge of a plastic spudger into the seam at one end of your iPhone’s frame and work around it until you reach the opposite end. This will loosen the adhesive that secures the display assembly to the case, allowing you to remove it and access the battery. Take out the battery connector cable. Gently remove the single screw that holds the battery connector cable in place. Using a plastic spudger, pry up on the connector cable so that you can pull it out of its socket and remove it from the device. Disconnect the antenna cable. The antenna cable is located at the top left corner of your iPhone’s frame, and is secured by two screws. Unscrew these and disconnect the antenna cable from your iPhone’s frame. Using a plastic spudger, gently lift up on the antenna cable until you can pull it out of its socket. Insert new iPhone battery.
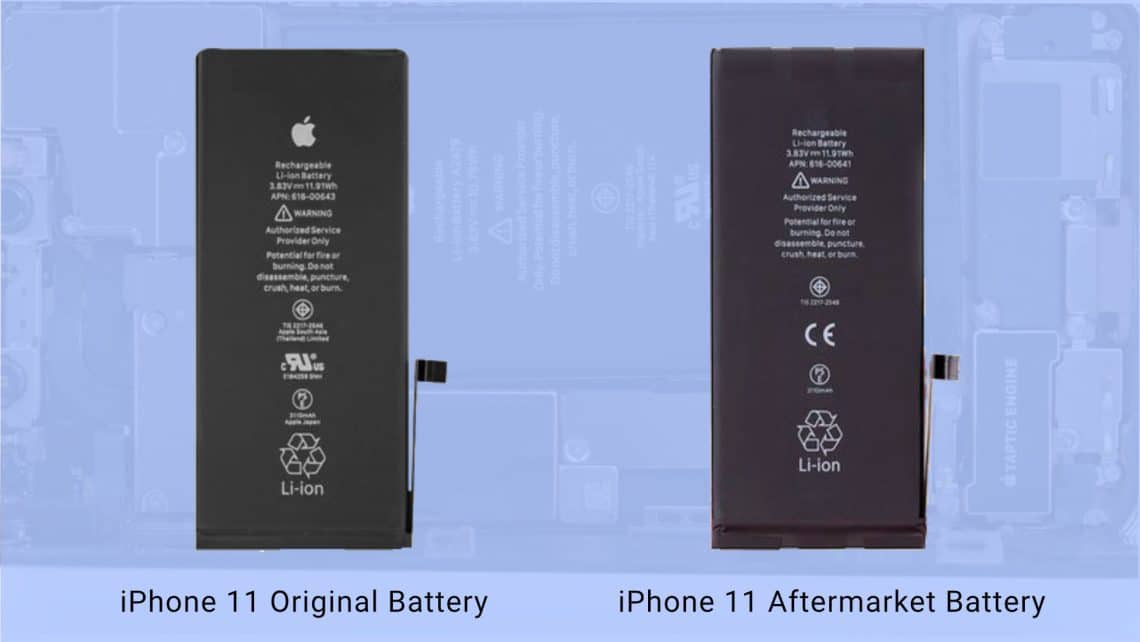
Use original Apple battery only. Bad quality, cheap battery cause lots of issues on your phone. That’s why it is important to use an original iPhone battery when replacing the old one. Now it’s time to put in the new one. To do so, use a suction cup to loosen the display assembly and gently pull it off the device. There should be two plastic brackets that secure the battery in place – use a spudger or flathead screwdriver to remove them. Next, use a Phillips #00 screwdriver to take out the three screws securing the battery connector shield. Disconnect the battery connector from the logic board before removing the old battery. Finally, place the new iPhone battery and screw it back into place with the Phillips #00 screwdriver before reconnecting the battery connector and reassembling your device with the two plastic brackets and display assembly. Replacing an iPhone battery is not an easy task and may take some practice but with the right tools and patience you can do it yourself.

Please be careful. Don’t mix the screws. To replace your iPhone battery, start by shutting down your phone and disconnecting all cables. Remove the two screws at the bottom of your phone and take off the back panel of your iPhone. Take out the old battery and use a screwdriver to remove the remaining screws from the metal bracket that is holding the battery in place. Now, you can insert a new battery into your iPhone and fasten it with the screwdriver. Make sure you plug in all cables back into your iPhone and then press and hold both “Power” and “Home” buttons together for a few seconds to restart your device. Finally, reassemble your iPhone by reversing all the steps you did previously and you will have a newly replaced iPhone battery! Taking these steps will allow you to do an iPhone battery replacement or repair yourself without having to go through an expensive repair service.
New battery testing. The last step to a successful iPhone battery replacement is to test the new one and make sure it is working correctly. To do this, turn on the iPhone and observe how quickly it charges and how long it lasts when not plugged in. If you notice that your device is not charging as quickly as before, or if the battery life is considerably shorter, it might be time for another iPhone battery repair myself. Furthermore, check your device for any visible signs of wear or damage that may have occurred during the iPhone battery replacement process and replace the parts if necessary. Lastly, remember that some batteries can be recycled or recycled for money depending on their condition and age, so it may be worth considering this option if possible.
New battery sould be work fine for 2-3 years. After that, you may have to replace it again. Before attempting iPhone battery replacement or repair, always make sure that your iPhone is switched off and the power source is disconnected. After ensuring that everything is safe, proceed with the following steps:
1. Take the back cover off your iPhone and remove the screws that are holding the battery in place.
2. Carefully remove the old battery and disconnect the connector, if necessary.
3. Place the new battery in the iPhone and secure it with the screws you removed earlier.
4. Reconnect any disconnected connectors and securely fasten them to the iPhone body.
5. Reattach the back cover and make sure all screws are securely tightened.
6. Switch on your iPhone and verify that the new battery is working properly.
Finally, check your iPhone’s settings to ensure that it is optimized for the new battery.
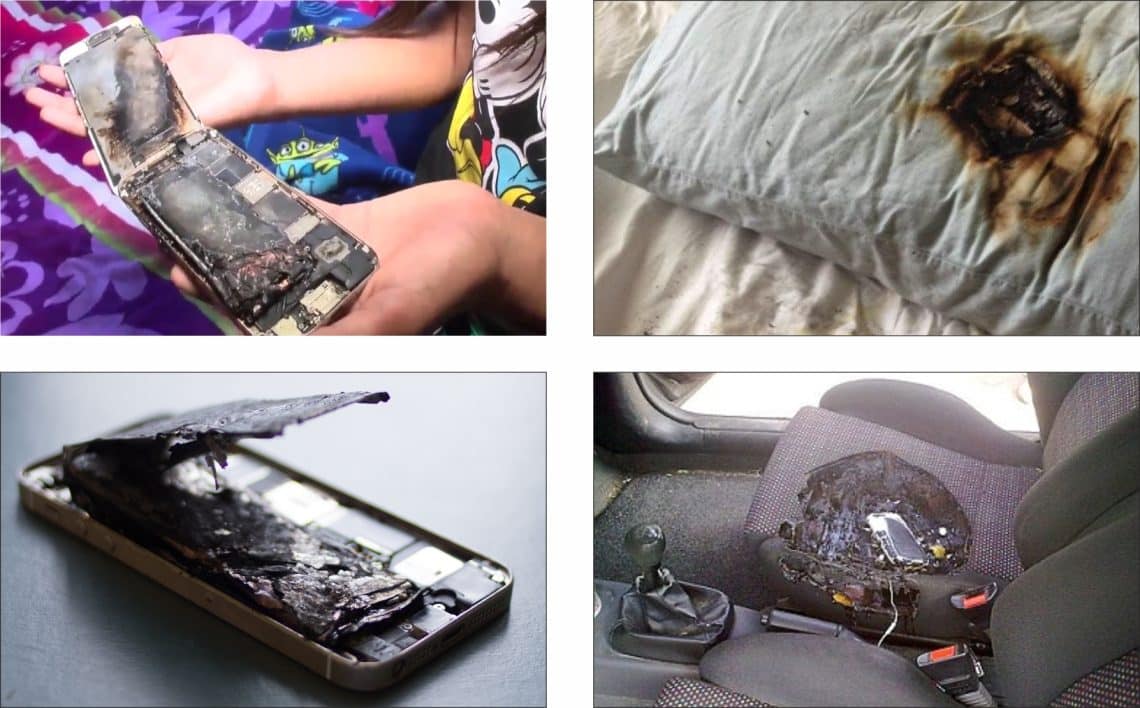
Please never use poor quality battery!


China has developed the world’s first 6G field test network, which integrates communication and artificial intelligence, demonstrating that 6G transmission capabilities can be achieved using

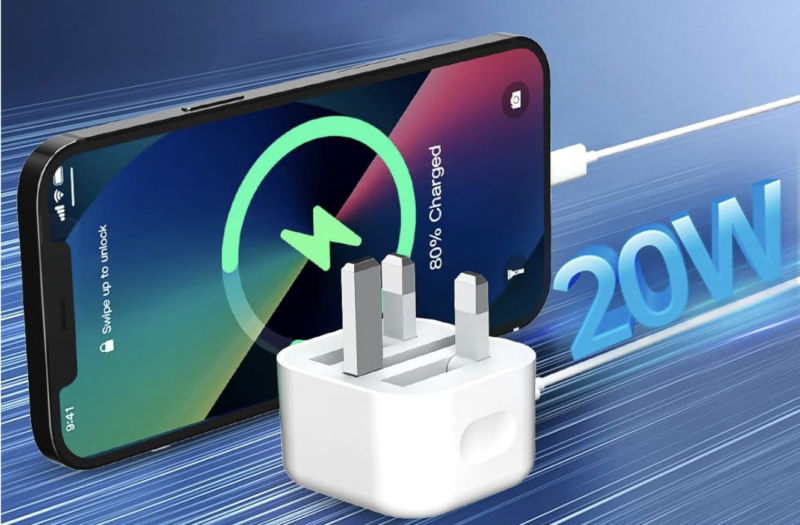
It’s high time for Apple to increase the charging power. There are many reasons to love Apple smartphones, but their charging speed is not one
Best solutions for your Apple devices. Prompt, Reliable Service. Cheap and High Quality iPhone Repair Centre.
Monday 10am-5pm
Tuesday 1pm-5pm
Wednesday 10am-5pm
Thursday 1pm-5pm
Friday 10am-5pm
Saturday 10am-2pm
Sunday Closed
We are closed on Bank Holidays.
iPhone, iPad, iPod repairs, Apple mobile phone experts, mechanics – Kesgrave, Ipswich, Suffolk, Woodbridge, Saxmundham, Felixstowe,
Southwold, Aldeburgh, Framlingham, Leiston and all of UK